
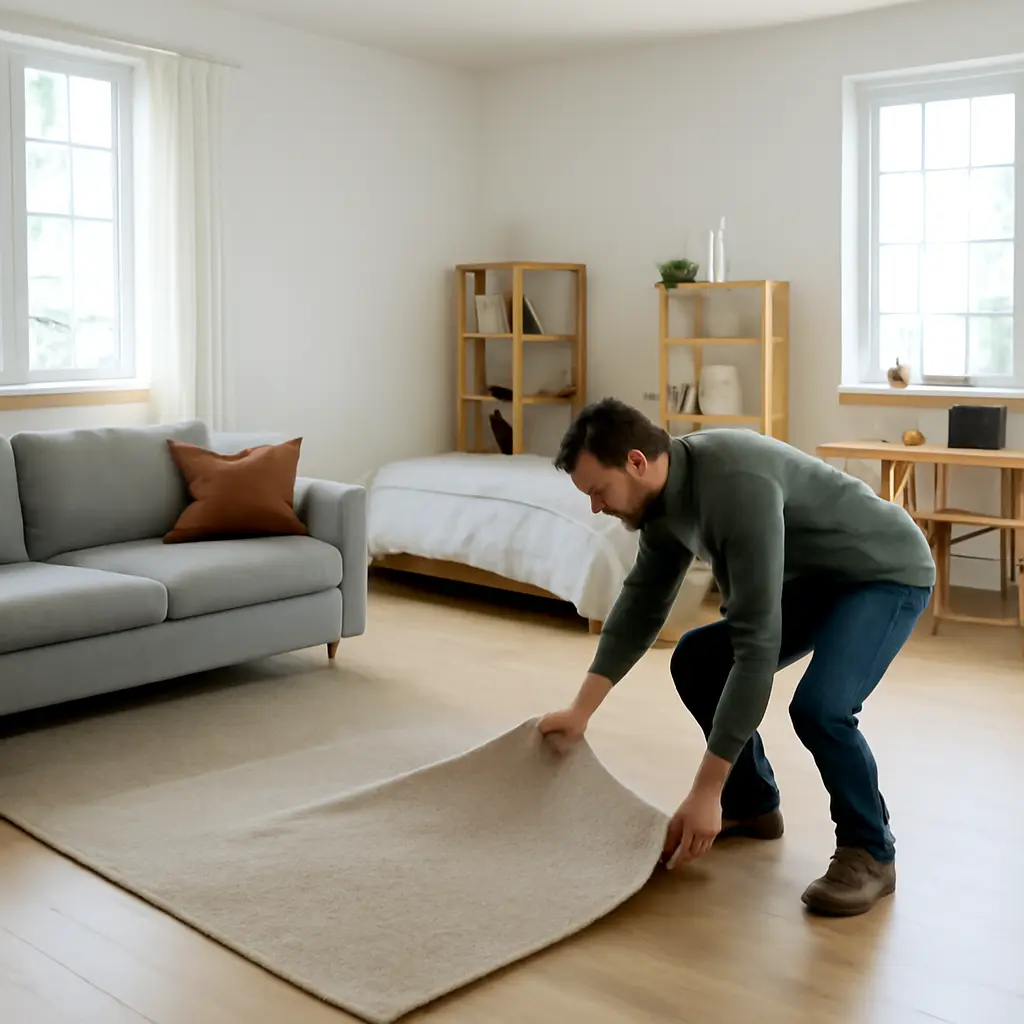
A studio can feel like several rooms without adding a wall: zoning is the intentional use of furniture, rugs, lighting, storage, and color to give different parts of one open space distinct jobs. The most effective plan starts with daily routines, then arranges zones around light, circulation, privacy, and storage. That approach matters in compact homes, where every square foot has to work; the U.S. Census Bureau reported that the median size of a new single-family home completed in 2023 was 2,286 square feet, but studio apartments are typically far smaller. Below, you’ll find a practical framework for planning zones, specific ways to define them, and examples for working, sleeping, dining, and relaxing without construction.
Studio Zoning Defines Space by Activity
Studio zoning is the arrangement of an open-plan home into activity areas without permanent partitions. Interior designers commonly achieve it through furniture placement, floor coverings, lighting, color, and visual separation. Unlike building a wall, zoning preserves flexibility and usually keeps daylight and sightlines moving through the room.
A successful zone has a clear purpose, enough room to use it comfortably, and a sensible relationship to neighboring areas. For example, a work zone needs task lighting and a place for supplies, while a sleep zone benefits from visual privacy and a calmer lighting scheme. The Environmental Protection Agency’s guidance on indoor air quality also makes ventilation and clean-air pathways relevant: avoid arranging tall furniture so it blocks windows, vents, or circulation routes.
Start with Activities and Circulation
List the activities that happen at home—sleeping, working, cooking, eating, relaxing, or exercising—and note which need privacy, daylight, quiet, or storage. Then sketch the room, including doors, windows, radiators, outlets, and fixed kitchen or bathroom elements. Mark the routes you use most often before positioning large furniture.
Circulation is the space people need to move between zones without weaving around obstacles. The National Kitchen and Bath Association’s planning guidance commonly uses a 36-inch-wide passage as a baseline for walkways in kitchen layouts; it is a useful reference, not a universal legal requirement for every studio. Keep main routes comfortably open, and check furniture clearances in the actual room rather than relying on a floor plan alone.
Use a Focal Point to Set the Layout
A focal point is the feature that naturally draws attention, such as a window, fireplace, or media unit. Build the layout around it while considering how the room will be used: a desk may benefit from window light, but a computer screen may need to face away from glare. A bed does not have to occupy the darkest corner if doing so makes access awkward or blocks a route.
Furniture and Rugs Create Studio Boundaries
Furniture zoning uses the position and shape of furnishings to signal where one activity ends and another begins. A sofa can mark the edge of a living area, a bookcase can screen a bed, and a desk can form a work nook. These are flexible boundaries: they define space without enclosing it.
Choose dividers according to the degree of separation needed. Low or open pieces preserve sightlines; taller pieces offer more privacy but can make a small room feel darker or tighter. Anchor the plan with larger furniture first, then use smaller pieces and accessories to clarify each zone.
Place Rugs to Define Activity Areas
A rug creates a visual boundary by grouping furniture and changing the floor texture or color beneath a particular activity. In a living zone, the rug should relate to the sofa and chairs rather than sit as an isolated island. In a sleeping area, a rug placed beside or partly beneath the bed can make the transition from sleep space to the rest of the studio feel deliberate.
Use rugs to distinguish zones without introducing a hard barrier. Keep edges clear of doors and high-traffic paths, and choose low-pile options where chairs need to roll. A simple “plan view” diagram can help: draw the room outline, add the main circulation path, then shade each proposed rug footprint to see whether zones overlap awkwardly.
Use Shelving, Screens, and Sofas as Dividers
Open shelving is a see-through divider that can store books or baskets while separating a sleeping area from a living space. A folding screen provides temporary privacy and can be moved when the room needs to feel more open. A sofa positioned with its back toward a bed or dining table can establish a boundary while keeping the arrangement sociable.
For safety and comfort, secure tall shelving according to the manufacturer’s instructions and avoid placing unstable furniture where it could tip. In a rental, check the lease and use permitted, reversible fixing methods. Before buying a divider, test its footprint with painter’s tape on the floor; this low-cost mock-up shows whether it obstructs doors, daylight, or everyday movement.
Lighting and Color Strengthen Studio Zones
Lighting and color provide layered visual cues that make zones feel distinct even when they share the same floor. Instead of relying on one bright ceiling fixture, combine ambient light for general visibility with task lighting for activities and softer accent lighting for atmosphere. The U.S. Department of Energy notes that LED bulbs use at least 75% less energy and last up to 25 times longer than incandescent lighting, making them a practical option for frequently used lamps.
Layer Ambient, Task, and Accent Lighting
Ambient lighting supplies overall illumination; task lighting focuses on a specific activity, such as reading, cooking, or working; and accent lighting highlights a feature or adds depth. A desk lamp can identify a work zone, a pendant or table lamp can anchor a dining area, and a warm bedside lamp can make the sleeping zone feel separate at night.
Use more than one light source where practical, and place controls where the activity happens. Plug-in lamps and adjustable fixtures are especially useful when permanent electrical changes are not possible. Select bulbs with a comfortable color appearance and adequate brightness for the task, and avoid aiming a strong work light toward the bed or directly into the eyes.
Coordinate Color Without Making the Studio Feel Smaller
Color zoning uses related shades, accents, or finishes to give areas separate identities. A consistent base palette can make the whole studio feel connected, while a few controlled contrasts—such as different cushions, artwork, or bedding—signal changes in function. Repeating one or two materials across zones helps the room read as a whole rather than as a collection of unrelated corners.
Color is most effective when it supports the layout rather than substitutes for it. Use a distinct accent behind a desk or at the head of a bed, but keep larger surfaces coordinated if visual calm is the goal. Test paint or fabric samples in daylight and evening light before committing, since the same color can look different under different bulbs.
Storage and Flexible Furniture Make Zones Work
Storage zoning assigns belongings a home near the activity where they are used. This reduces clutter in shared areas and helps a studio switch between functions. The National Association of Home Builders has reported a long-term trend toward larger homes and more specialized spaces, but a compact studio often requires the opposite strategy: storage and furnishings must serve several purposes without overwhelming the floor plan.
Give Each Zone Nearby, Concealed Storage
Keep work supplies near the desk, cooking tools near the kitchen, and extra bedding near the bed. Closed boxes, drawers, and cabinets hide visual clutter; open shelves make frequently used items accessible but look tidier when contents are grouped. Under-bed containers and vertical shelving can use space that might otherwise go unused.
Measure the storage item and its access needs before buying it. A drawer unit that technically fits may still be unusable if it blocks a door or cannot open fully. Favor storage that supports a routine you already have, rather than adding organizers that create more steps or consume valuable circulation space.
Choose Furniture That Changes Function
Multifunctional furniture performs more than one job: a dining table can double as a work surface, a storage ottoman can serve as seating and a footrest, and a daybed can support lounging and overnight guests. Folding, nesting, or wheeled pieces make it easier to reclaim floor area when an activity is finished.
The best choice depends on how often the furniture changes roles. A fold-out desk is useful only if it is easy to open and clear away; a sofa bed may be a poor fit if daily conversion is cumbersome. Before purchasing, measure the fully extended footprint and map it on the floor to confirm that the room remains usable in both configurations.
A Practical Studio Zoning Example
Consider a rectangular studio with a window at one end, a kitchen along one wall, and an entry near the opposite end. Place a small desk near the window if glare can be controlled, set the bed along a quieter wall, and use an open bookcase or curtain to soften the view between bed and living area. Position a sofa to face the main focal point, with its back helping mark the lounge boundary; add a compact dining table near the kitchen.
A rug can group the lounge furniture, while separate task lamps distinguish the desk and bedside areas. Store work materials at the desk, linens under the bed, and dining items close to the kitchen. Keep a direct route from the entry to the window and kitchen, and adjust the layout if the divider blocks daylight or makes the bed difficult to reach. This example is a starting point, not a fixed formula: room dimensions, window placement, accessibility needs, and daily habits should determine the final arrangement.
Conclusion: Make One Room Support Several Routines
Studio zoning works by giving each activity a recognizable place through furniture, rugs, lighting, color, and nearby storage. Start with routines and circulation, choose boundaries that suit the desired level of privacy, and use flexible furnishings when the same area must serve different purposes. Small adjustments can improve comfort without the cost, disruption, or permanence of construction.
Before buying anything, sketch your layout, measure clearances, and test proposed boundaries with tape or movable furniture. Then make one change at a time and observe how the room works through a typical day. For further planning, consult reputable interior-design guidance and local accessibility or rental requirements before installing or anchoring fixtures.
Sources: U.S. Census Bureau, Characteristics of New Housing, https://www.census.gov/construction/chars/; U.S. Environmental Protection Agency, Care for Your Air: A Guide to Indoor Air Quality, https://www.epa.gov/indoor-air-quality-iaq/care-your-air-guide-indoor-air-quality; National Kitchen & Bath Association, Kitchen Planning Guidelines, https://nkba.org/; U.S. Department of Energy, LED Lighting, https://www.energy.gov/energysaver/led-lighting; National Association of Home Builders, What Home Buyers Really Want, https://www.nahb.org/